
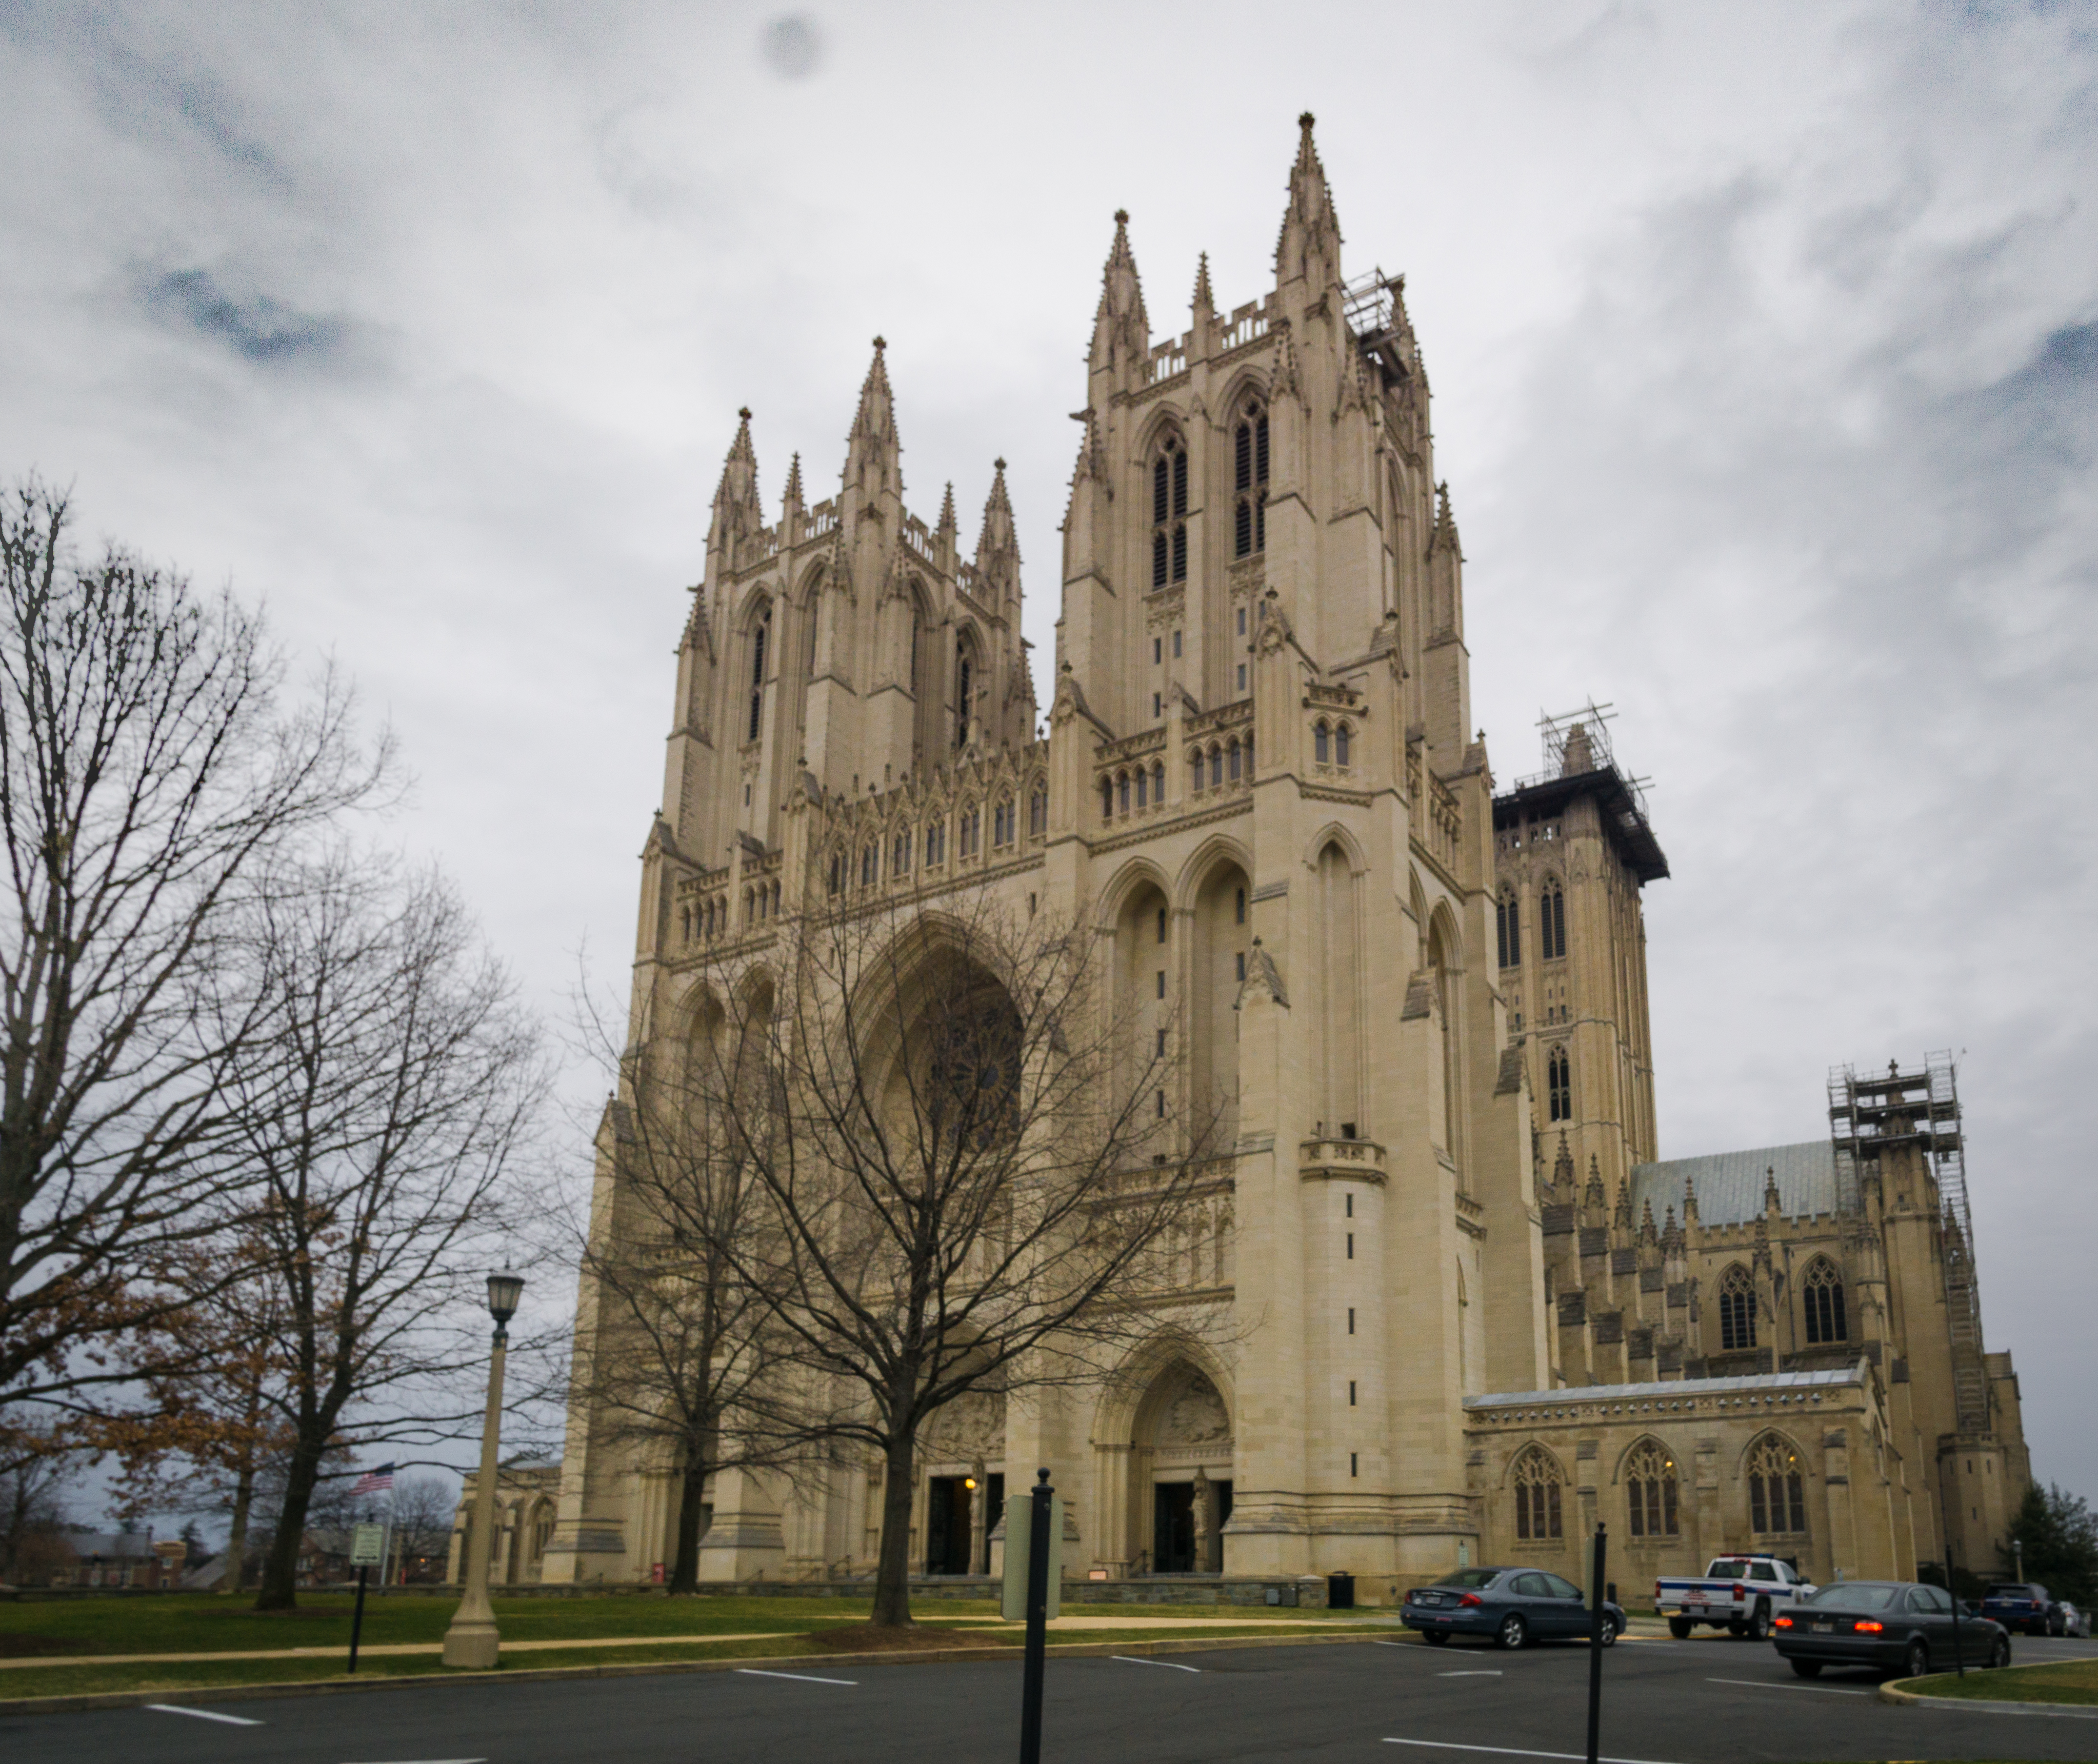
National Cathedral in Washington DC
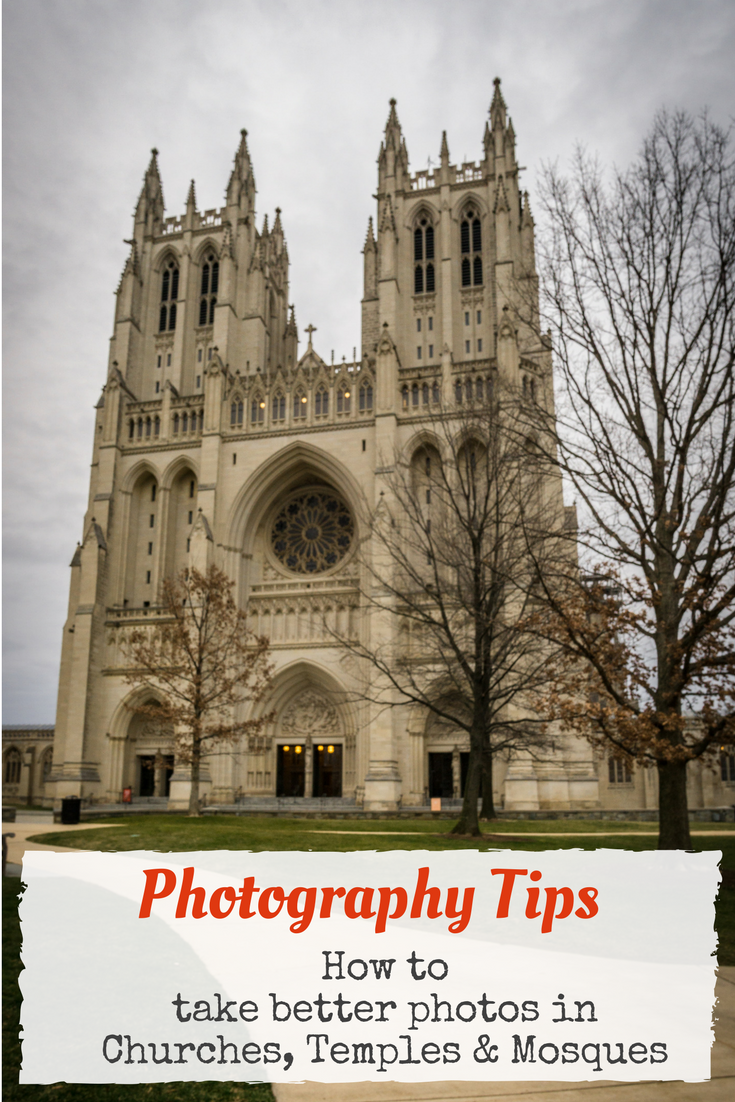
How to take better Photos in Churches, Temples, and Mosques
 On my recent trip to Washington DC, my dear friend David E. Luria from Washington Photo Safari invited me to join him on one of his Photography Tours of the National Cathedral in Washington DC.
As a travel writer and photographer, I get to visit a fair share of churches, temples, and mosques all over the world and taking beautiful photos of these stunning locations is harder than it seems. Usually, the lighting is horrible, and tripods are not allowed.
Here are some of the tips I learned about taking better photos of churches, temples, and mosques and of course some stunning shots of the National Cathedral in Washington DC.
National Cathedral in Washington DC

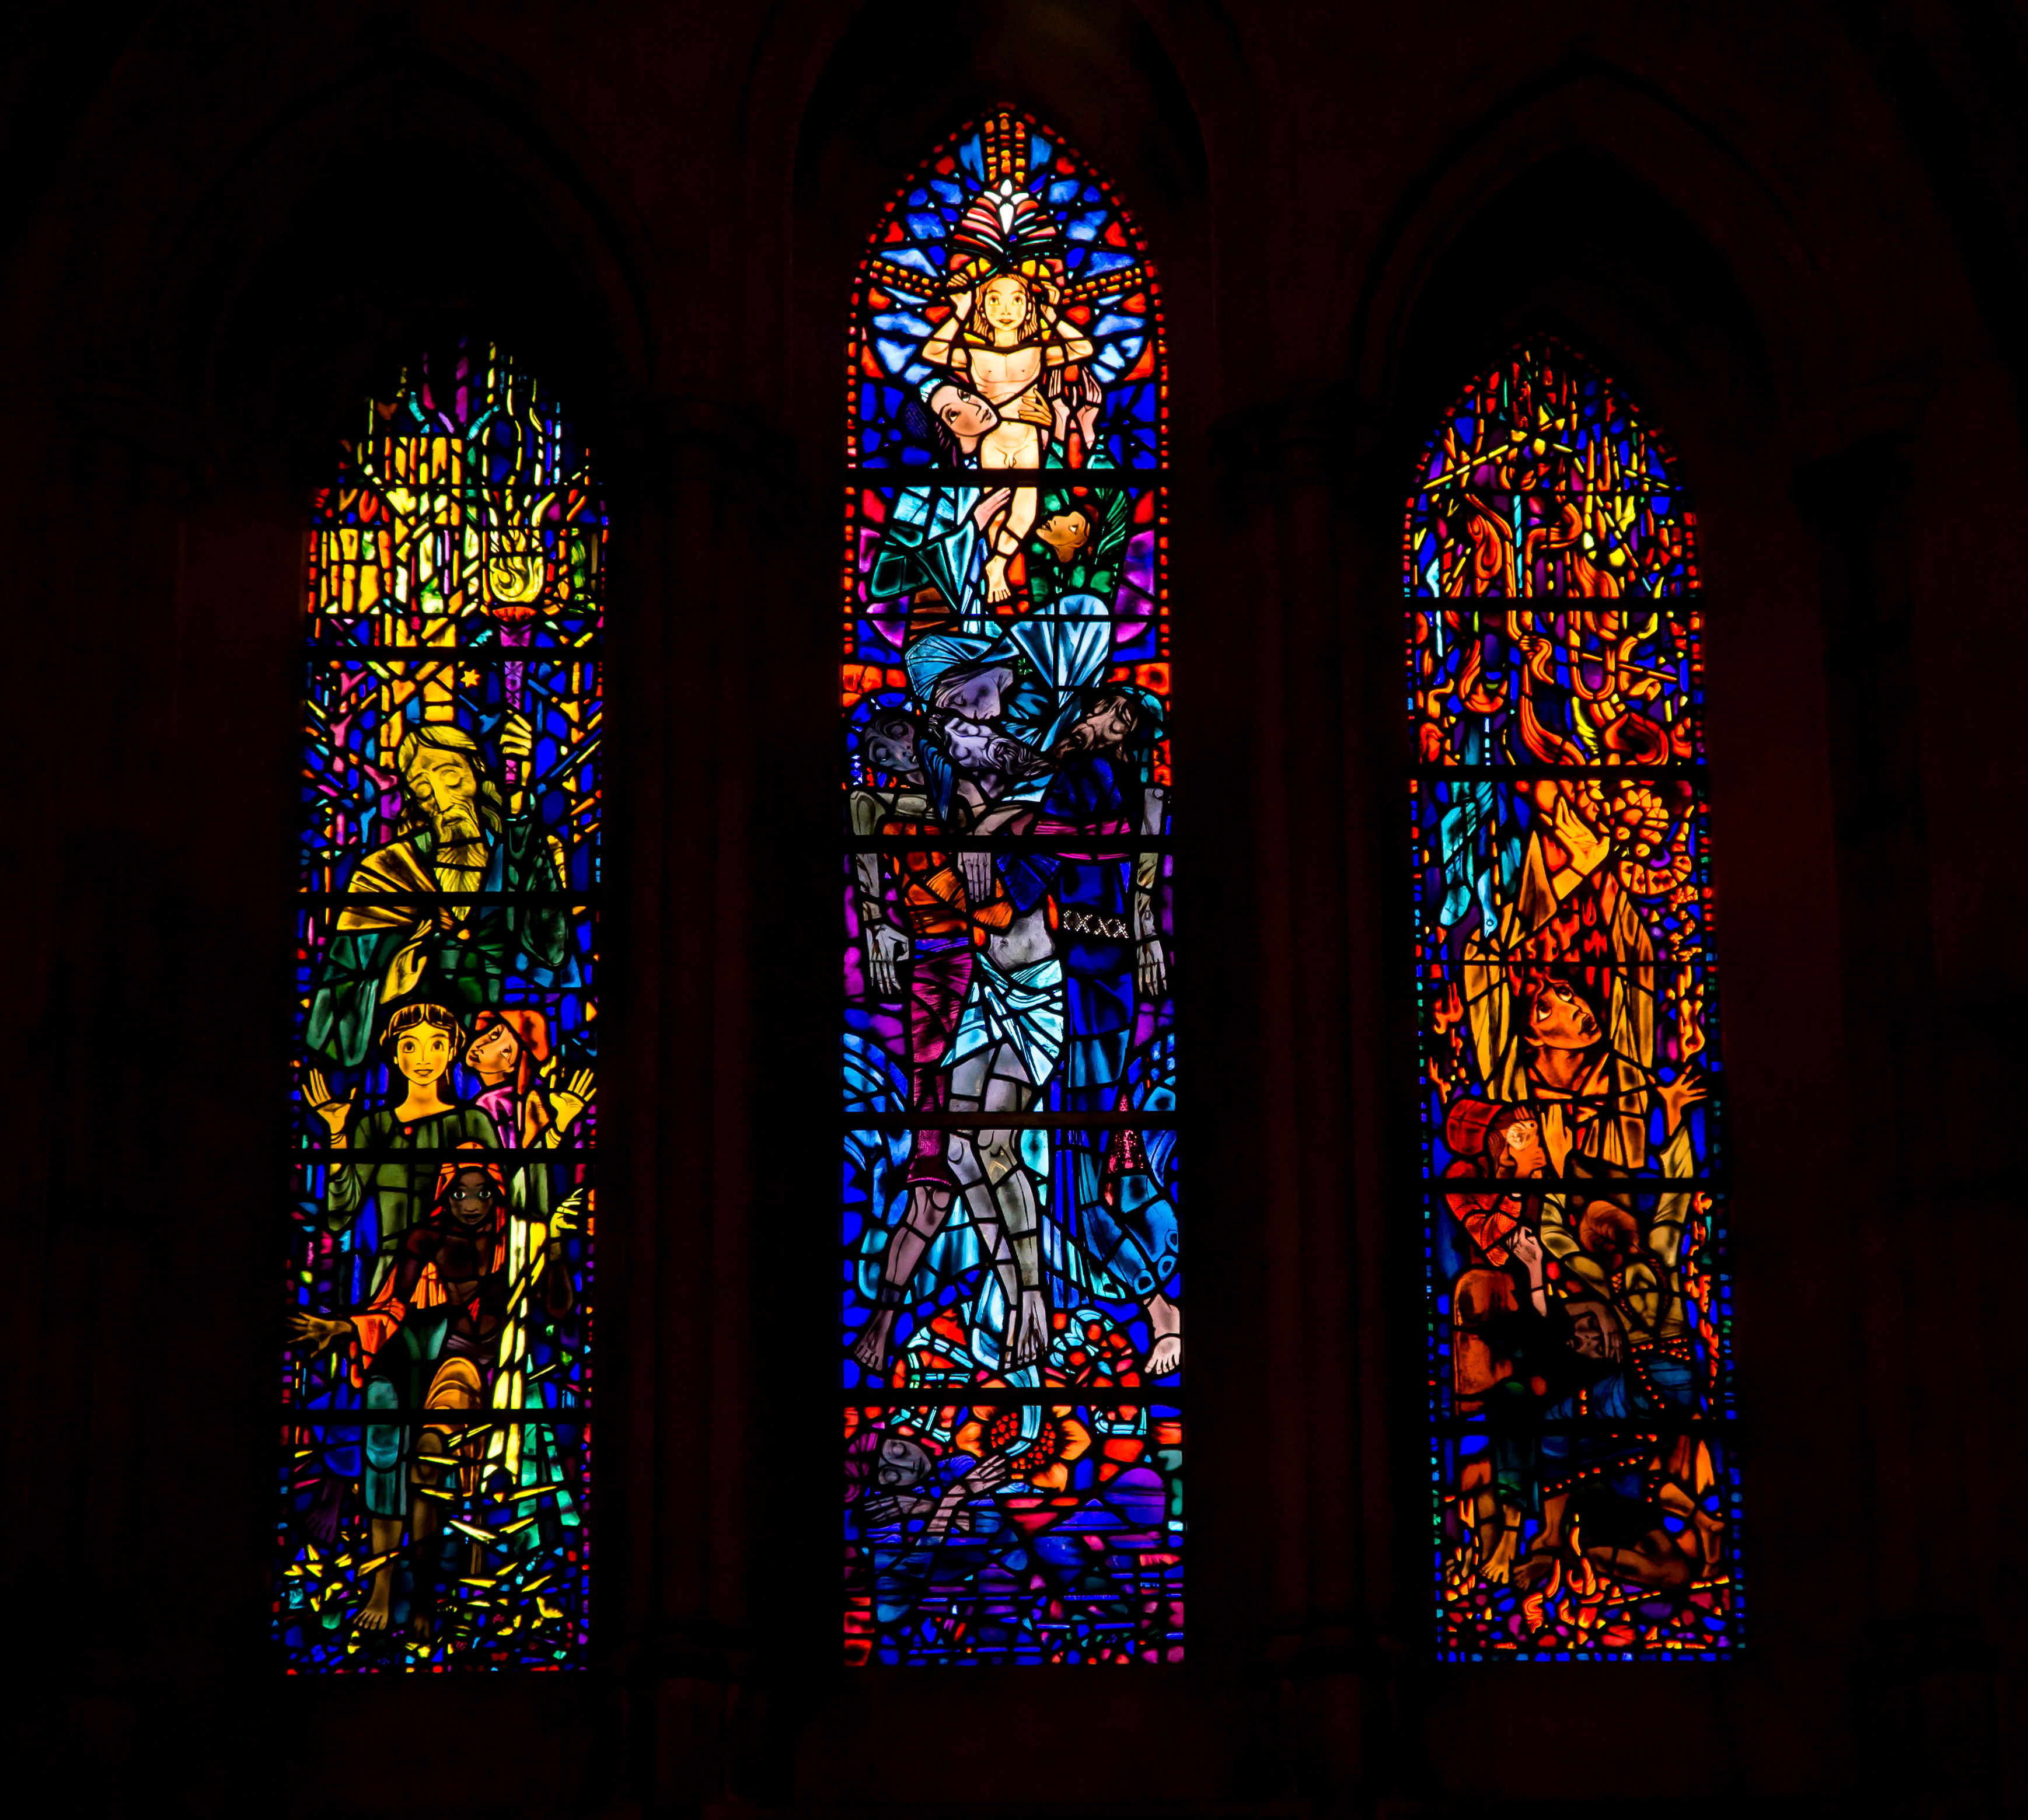
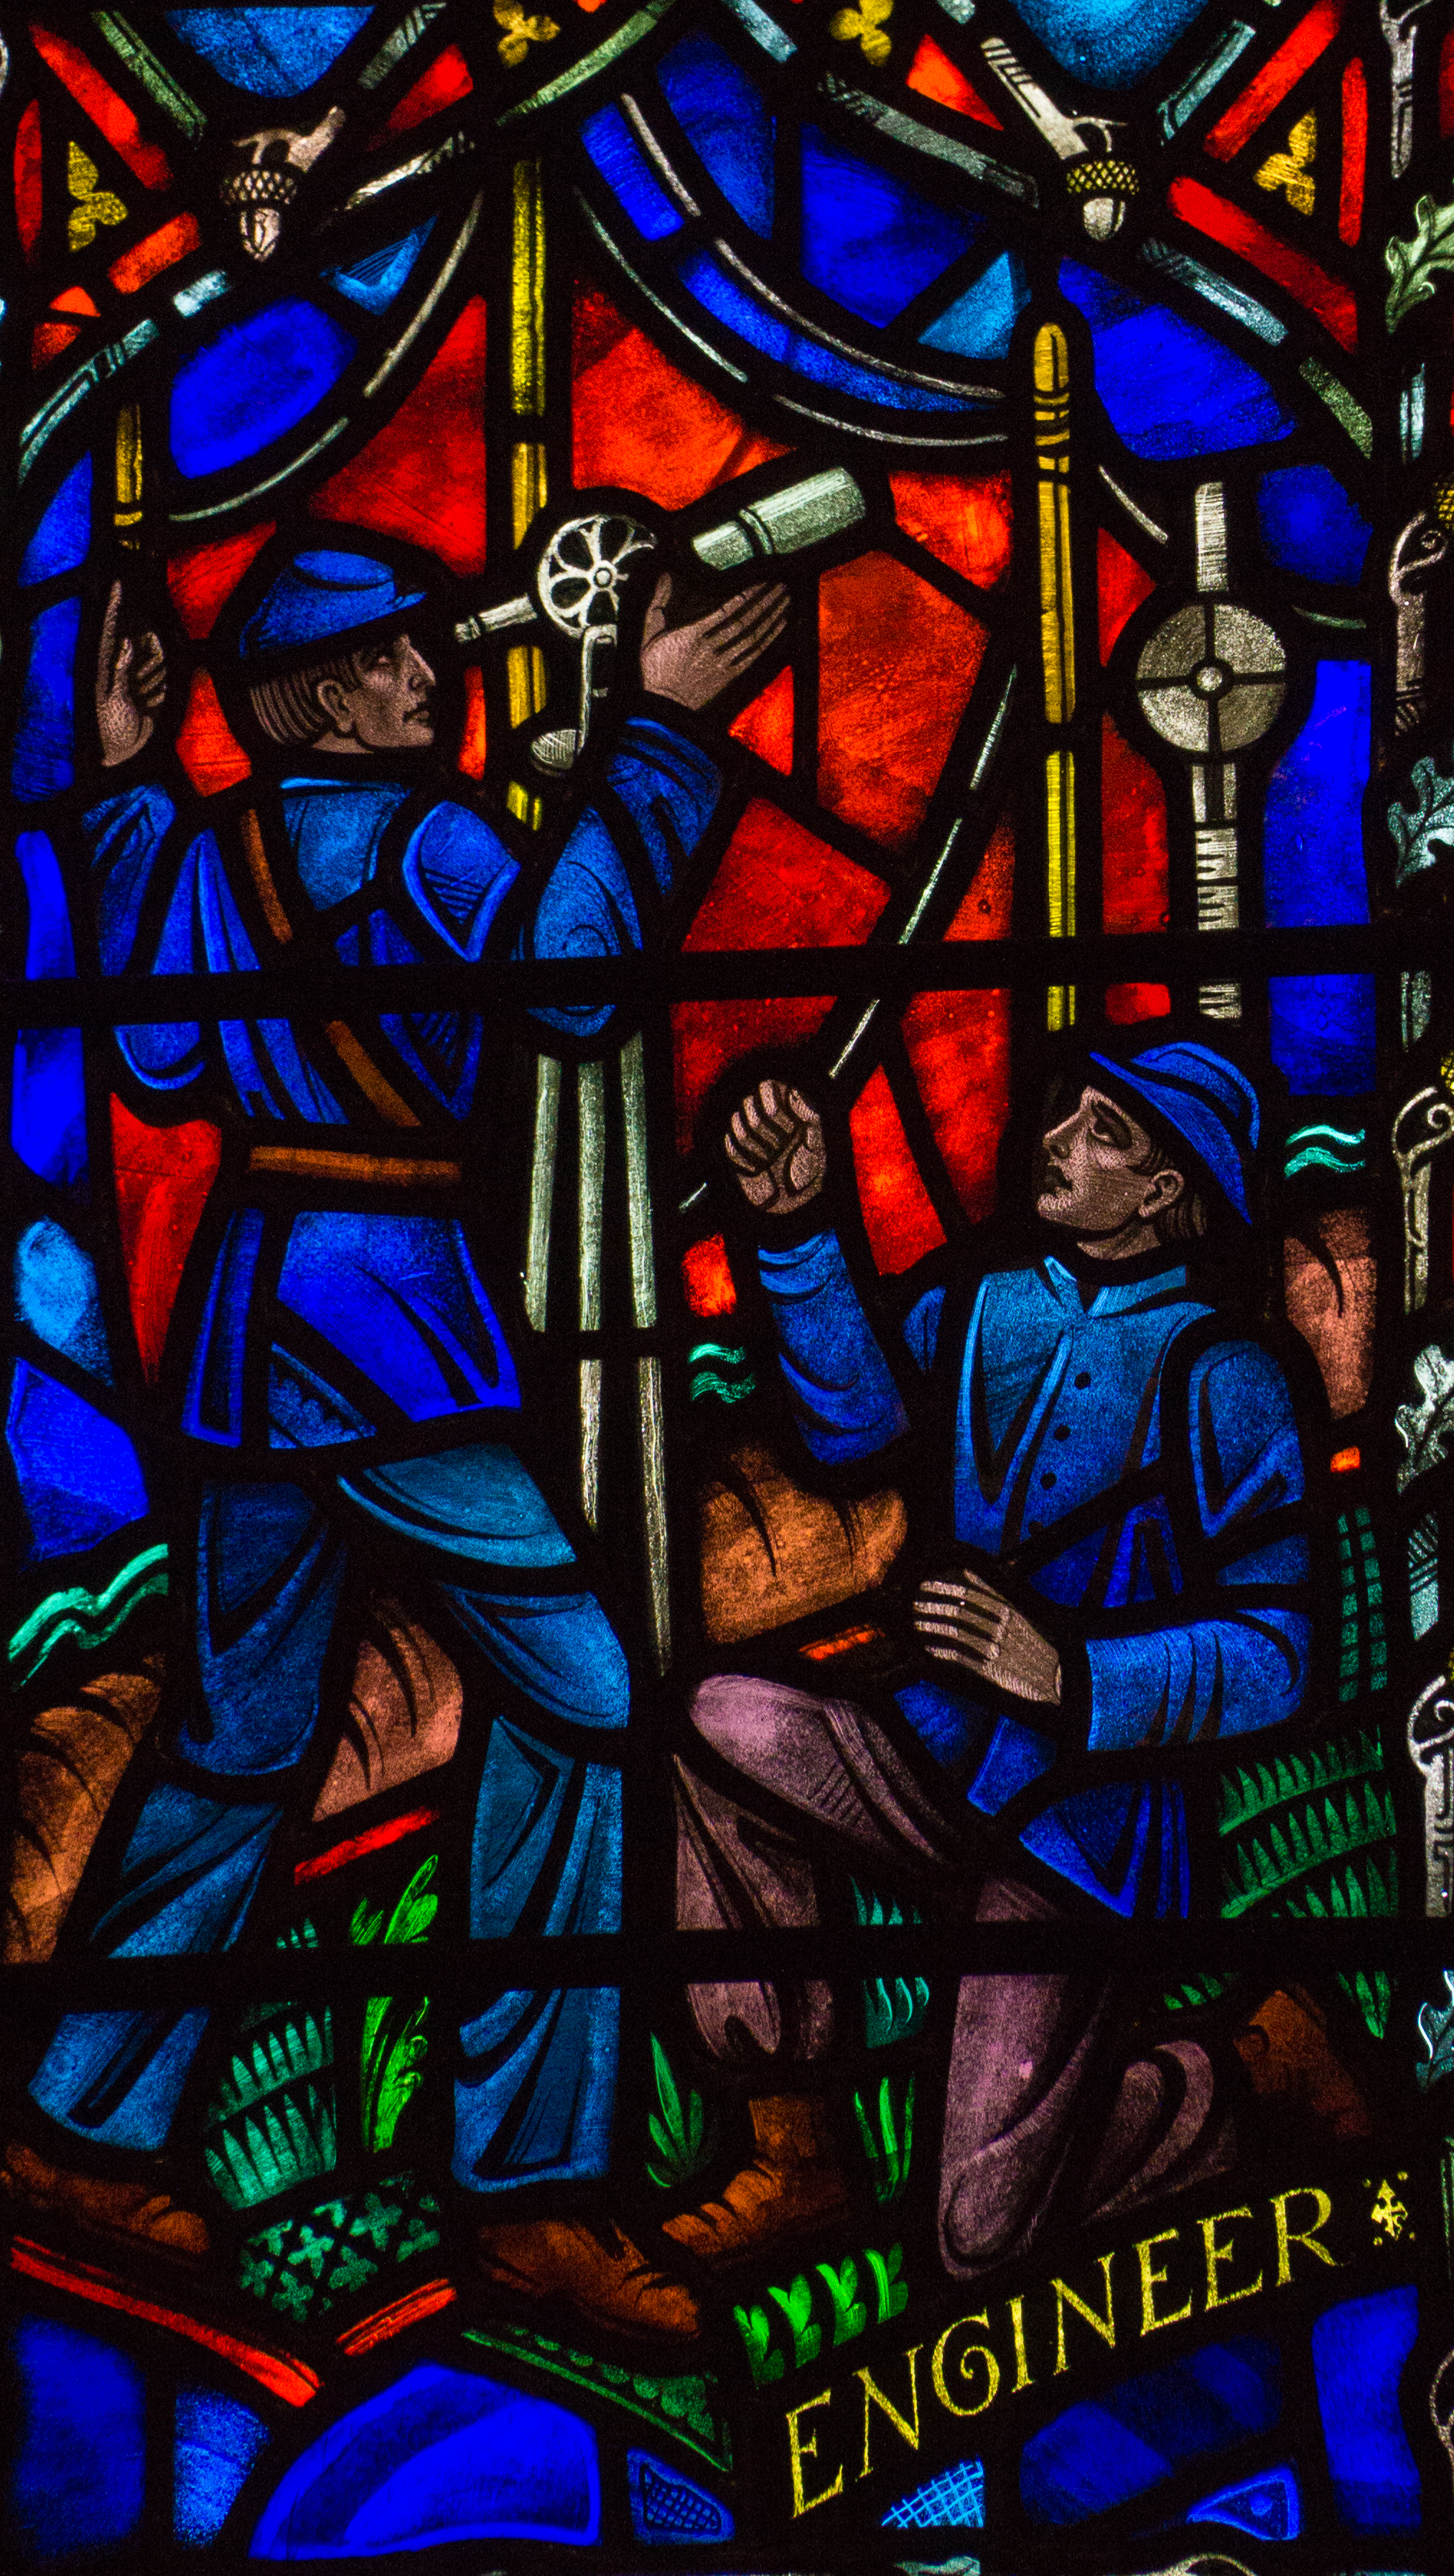
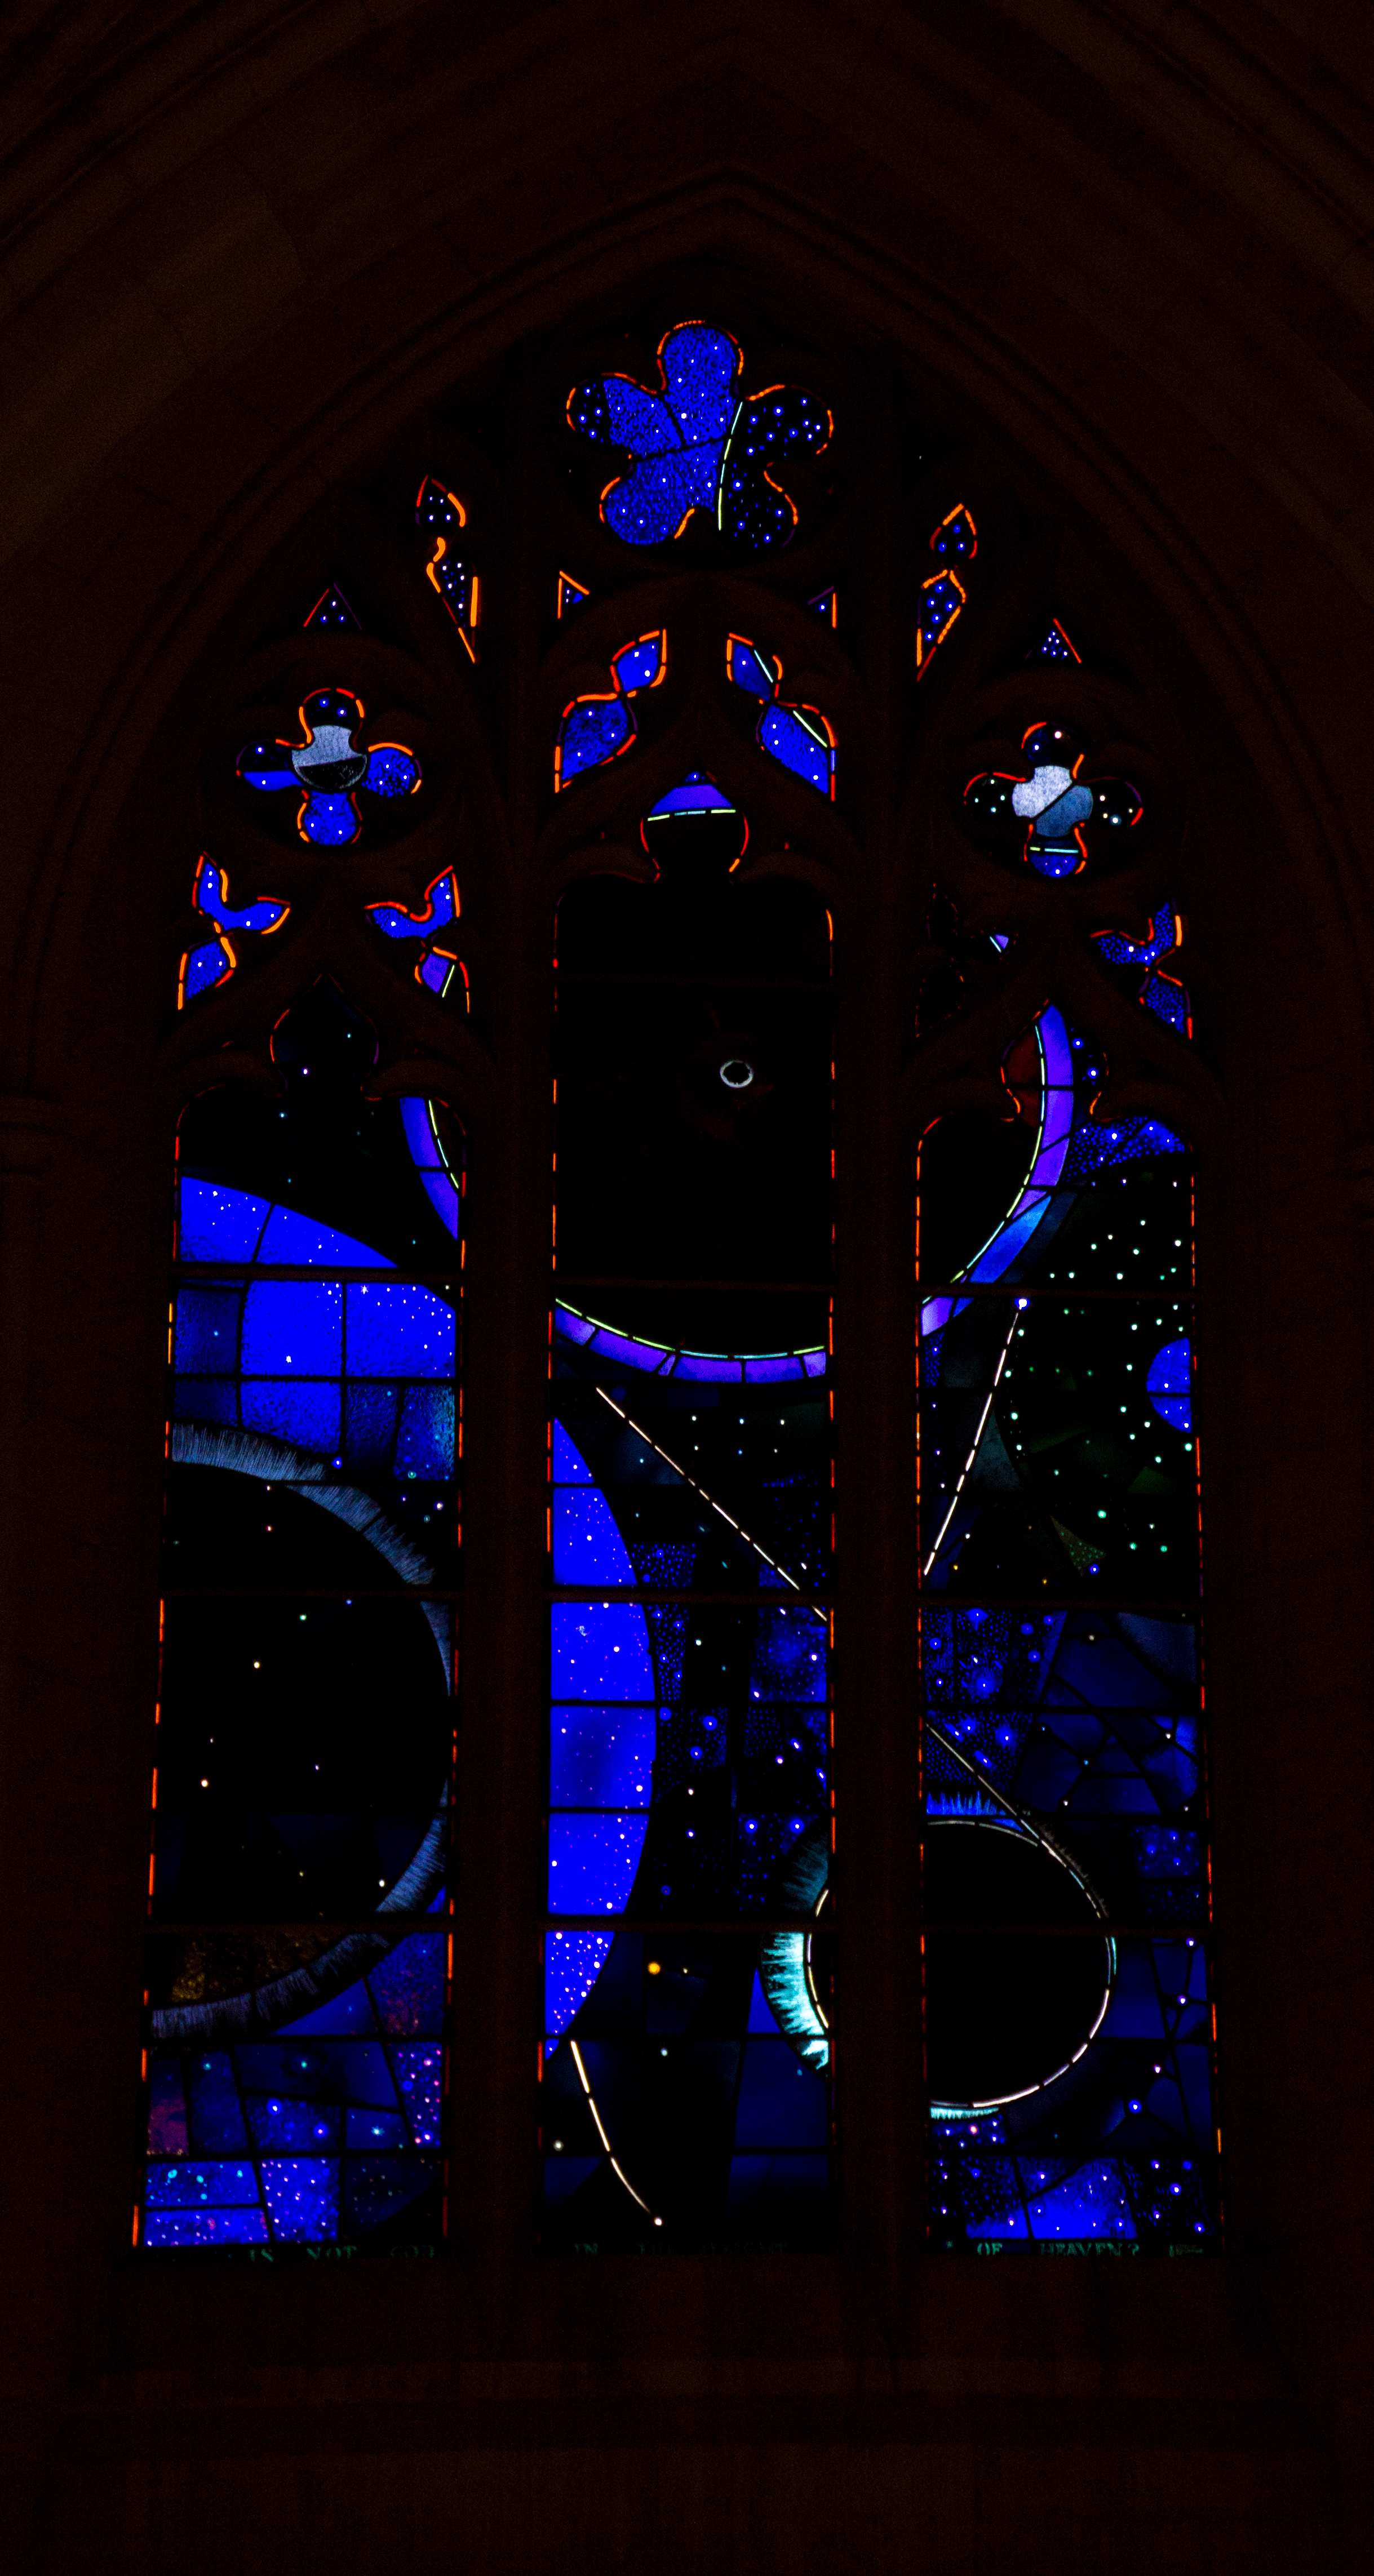
1. How to Take Better Photos of Stained Glass Windows
The stained glass windows in the National Cathedral are stunning. Compared to many cathedrals in Europe, the motives in the National Cathedral in Washington DC are much more worldly and have many current events. The most famous stained glass window is the “Moon Landing,” which has an actual moon rock incorporated into the design.
- Shoot in RAW: This way you can adjust the white balance and exposure in post production when you can look at your image on a larger screen.

- White Balance: On a cloudy day, use cloudy to shoot the stained glass and incandescent for the general interior. On a sunny day, automatic white balance is a good choice for the stained glass windows. For more advanced photographers, carry a gray card and adjust your Kelvin scale adjuster as you take test photos until the image resembles the color of the card as you see it with your naked eye.
- Exposure: Often, the light areas in the stained windows look over exposed, even when your camera tells you they are not. So you should shoot underexposed (1-3 stops) and maybe use brackets to capture the same photo at various exposures. It will black out the area around the window and a well exposed stained glass. Difficult lighting conditions are another reason to shoot in RAW, as it allows you to adjust the exposure later in post processing easily. Keep in mind that it is much easier to lighten up an underexposed photo (to a degree of course) than adding details back into a photo that is blown out and overexposed. Not even photoshop can fix that.

- Timing: If you can, check at what time you will be visiting the location and at what time the sun shines through the stained glass windows. If you don’t know details about the site, your best chances are between 8-10 AM and 4-7 PM (again, this depends a little on geographic location), just when the sun is low enough to shine through the windows. Early Dusk and the Blue Hour can produce some interesting photos as well.
2. Architectural Shots
- Use a wide-angle lens: This will help you to get more into your image and is especially useful when you want to get a shot of the whole building or depict the massive inside.
- Hold your camera level: This is a mistake many photographers make. If you shoot from an angle up, the view becomes distorted and feels like the building is tipping toward you. Instead, step back until the whole thing fits or use a wider angle.

- Focus on Details: Don’t just shoot the whole thing. Make it interesting and let the imagination of the viewer fill in the rest.

- Composition: Add framing, a foreground or other compositional elements to make your shot more interesting.

3. Camera Equipment
Here is what I brought on my photo tour at the National Cathedral:
My Camera: Sony a6000 (small, mirrorless, and great in low-light)

![]()
My Zoom Lens: Sony SELP18105G E PZ 18-105mm F4 G OSS

![]()
My Wide-Angle Lens: Rokinon 12mm F2.0 NCS CS Ultra Wide Angle Lens Sony E-Mount (NEX)

![]()
Other helpful equipment that I wish I had or should have brought.
Claw Tripod: Miggo Waterproof Small Mini Camera Tripod

![]()
Tilt-Shift Lens: Rokinon Tilt-Shift 24mm f/3.5 ED AS UMC Lens for Sony Alpha

![]()
4. How to Avoid Blurry Photos even without a Tripod
Most places of worship do not allow you to use a tripod. This combined with a dimly lit interior often results in blurry photos. To get a good result, you need to use the best combination of Aperture, Exposure, ISO, and Equipment. The faster your lens, the better. The lower the ISO, the better. The better your camera, the higher you can go on your ISO settings.

In general, you don’t want to dial down the Aperture too much, because it will narrow your depth of field and only keeps a small area of the photo in focus. Depending on your composition, this might work or not.
And finally, exposure. The longer you expose, the brighter the image. But without a tripod, photos can get very blurry. As a rule of thumb for hand-held photos, yourexposure should not be lower than 1/focal length. So if you are shooting with a 12mm wide-angle lens, you can shoot up to 1/12 second, but if you zoom in on a detailed scene of a stained glass window with your 300mm zoom lens, it goes down to 1/300 second, which will be very dark. To combat this, you can either smuggle in one of those little claw-tripods or use the things around you as a stabilizer. Press your camera against a wall or column. Rest it on a bench or mantel. Obviously, always be respectful of your surrounding and keep in mind that you are in a place of worship.

5. General Rules for Photography in Churches, Temples, and Mosques
- Be respectful; you are in a house of worship
- Follow the house rules: Some places do not allow flash photography, tripods or even forbid all photography during services; also follow non-photography related rules, like taking your shoes off or covering yourself as required by custom
- Reduce your noise and turn your camera setting to silent
- Dress appropriately

6. Learn from the Best: Washington Photo Safari Tours
The National Cathedral Tour was my second tour with Washington Photo Safari. Last time, I did the Monuments and Memorials Tour, and I loved both of them. David is very knowledgeable and has nifty tips and tricks up his sleeve to help you improve your photography. In each tour, you will learn some new technique and get expert advice. Last time, David taught me a lot about composition and general camera handling. On this tour, I learned how to operate my camera in low-light situations correctly and still get the shot I want.
I highly recommend Washington Photo Safari, whether you are a Washingtonian or a tourist. You’ll learn a lot about photography, discover some great spots and leave with lots of amazing photos for your keepsake. Photos make great souvenirs!
National Cathedral in Washington DC Photography Tour – Pin for later:


 MariaAbroad is a Travel Blog to inspire you and show you cool places around the world. I'll share articles about travel, culture, and craft beer. Follow me along, as I adventure through the world, one beer at a time. Cheers!
Nice tips on taken church photographs because it is really a work of profession and being careful so as to avoid been going out of bounds. This will really be of help
Great tips. Moon Landing stained glass window is very beautiful.